Blog
3D Printing vs Laser Cutting: Which is Better for Your Project ?

3D Printing vs Laser Cutting: Which Is Better for Your Project ?
Choosing between 3D printing and laser cutting can feel confusing at first. Both are computer-controlled fabrication methods, both can turn a digital design into a physical object, and both are popular with makers, engineers, teachers, and small businesses. But they work very differently, excel at different tasks, and come with different costs and constraints. This guide explains each process in plain language, compares them across the factors that matter, and ends with a practical checklist so you can confidently pick the right tool for your project.
The Core Difference: Additive vs. Subtractive

-
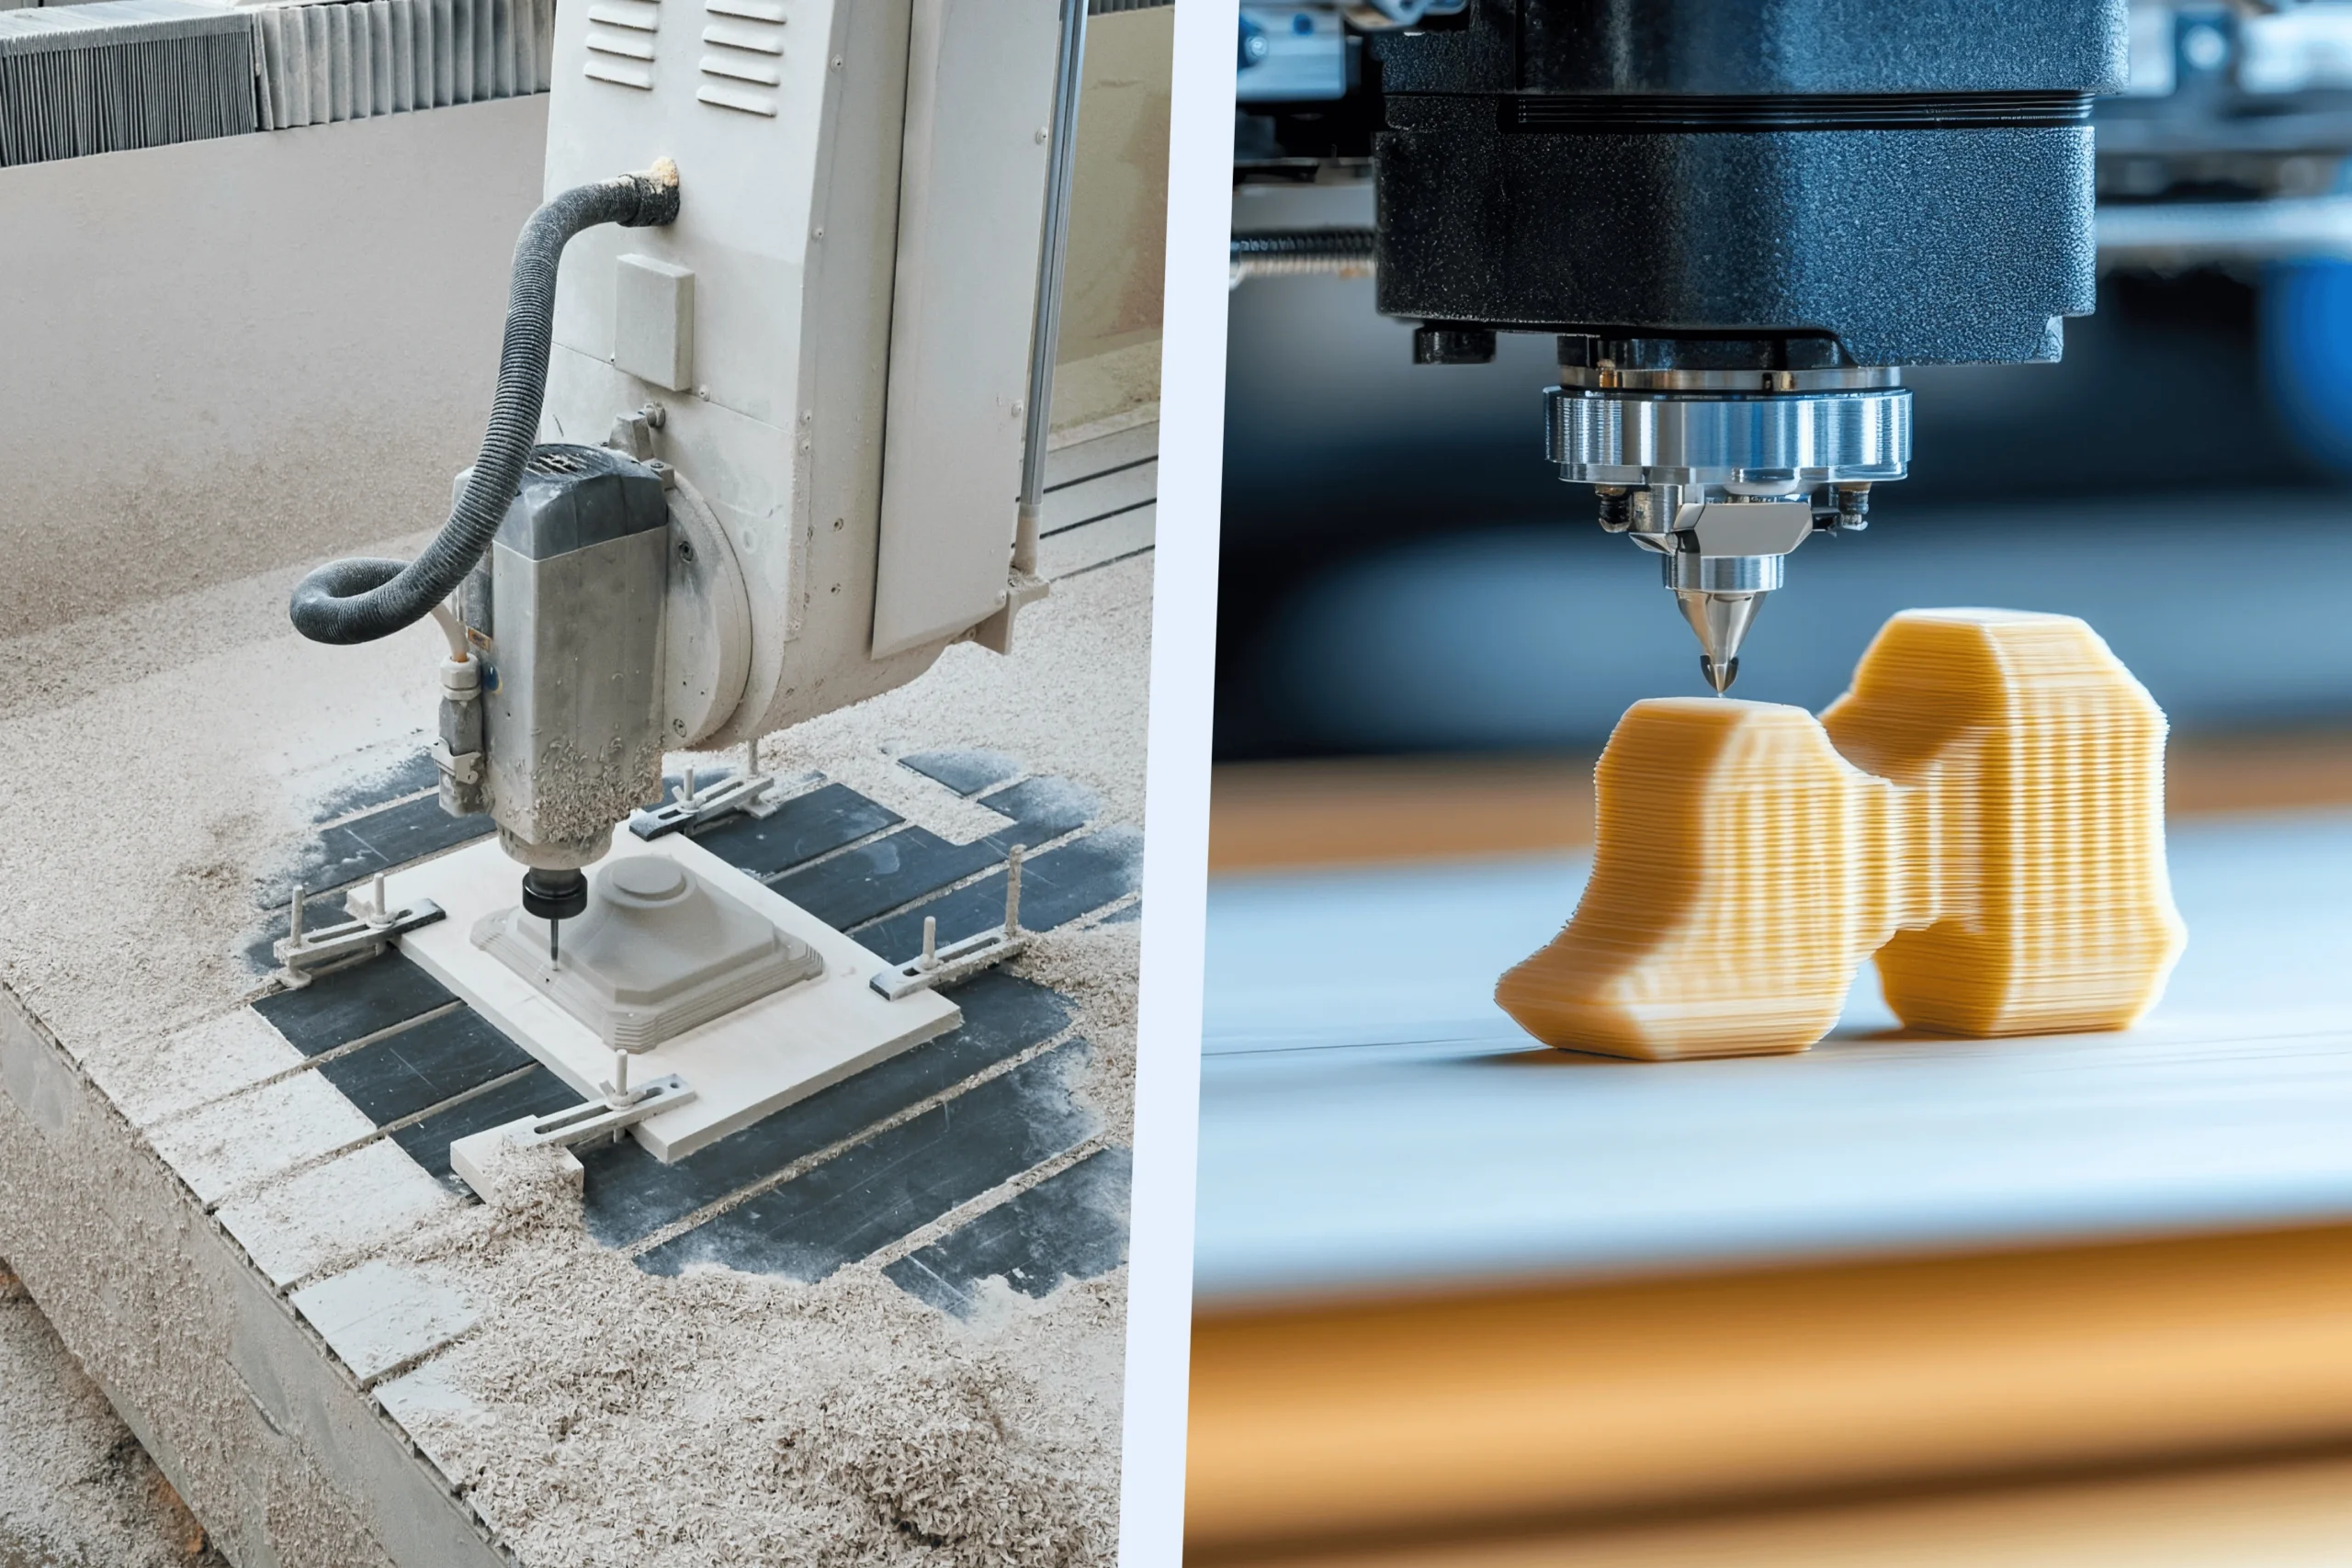
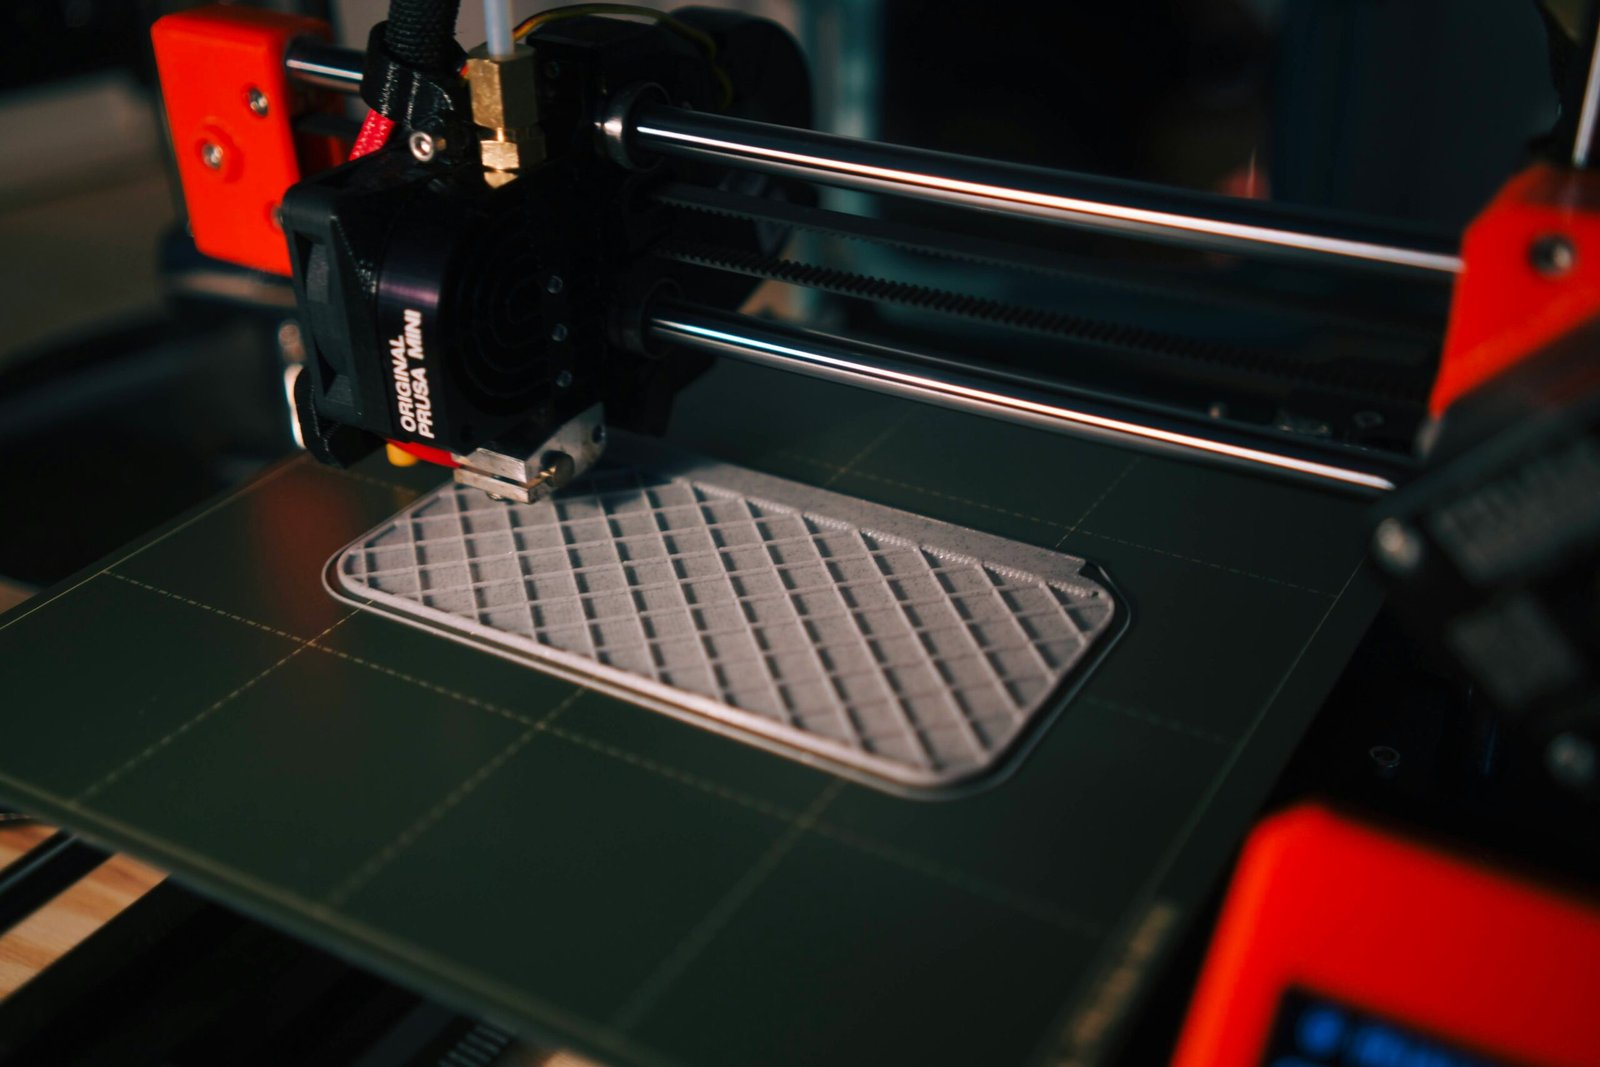
3D Printing (Additive Manufacturing): A 3D printer builds an object layer by layer. Imagine squeezing toothpaste to draw a shape, stacking those shapes until the object is complete. Some printers melt plastic filament (FDM), others cure liquid resin with light (SLA/DLP), and industrial machines may fuse powdered plastic or metal with lasers (SLS/SLM).
-
Laser Cutting (Subtractive Manufacturing): A laser cutter starts with a sheet (wood, acrylic, cardboard, fabric, some metals) and uses a focused laser beam to cut 2D profiles or engrave the surface. Think of it like a super-precise, computer-controlled craft knife that can also etch graphics.
This fundamental difference shapes almost everything else: design approach, strength, finish, cost, and speed.
What Each Method Does Best
3D Printing shines when you need:
-
Complex 3D shapes, internal channels, and organic curves that would be difficult or impossible to make from flat sheet.
-
One-off prototypes, functional jigs, small brackets, enclosures, or custom parts with integrated features (threads, snap-fits, hinges).
-
Rapid iteration—tweak the CAD model, print a new version, test, repeat.
Laser Cutting shines when you need:
-
Precise 2D parts and flat components: gears, brackets, frames, boxes, signage, stencils.
-
Clean edges, crisp engraving, and fast production from sheet materials.
-
Lightweight structures assembled from interlocking parts (think press-fit kits and architectural models).
Materials and Their Implications
3D Printing materials:
-
FDM plastics: PLA (easy, rigid, brittle), PETG (tougher, more temperature-resistant), ABS (impact-resistant, more finicky), nylon (tough and flexible), TPU (rubbery).
-
Resins: Standard resins for smooth detail; engineering resins for toughness, heat resistance, or flexibility; dental/biocompatible resins exist but are specialized.
-
Powder-based and metals (advanced): Nylon (SLS) for strong, isotropic parts; aluminum, steel, titanium (SLM/EBM) for high-performance applications (usually outsourced due to cost).
Laser Cutting materials:
-
Organics: Plywood, MDF, hardwoods, paper, cardboard, leather, cork.
-
Plastics: Acrylic (cuts and polishes beautifully), Delrin (acetal), some polycarbonates with caution. Never cut PVC—it releases corrosive and toxic chlorine gases.
-
Fabrics: Cotton, felt, many textiles.
-
Metals: Requires higher-power, often fiber lasers; typically handled by specialized shops.
What this means for you: If your design depends on the properties of a specific material (transparent acrylic window, wooden aesthetic, flexible fabric), laser cutting may be the natural fit. If you need a custom-shaped plastic component with internal features, 3D printing is usually better.
Dimensional Accuracy and Detail
-
Laser cutting is extremely accurate in 2D. Edges are sharp; holes and slots are repeatable. Kerf (the material removed by the laser) is small and predictable, often ~0.1–0.2 mm for hobby machines and tighter for professional ones. Engraving can capture fine text and graphics.
-
3D printing accuracy varies by process:
-
FDM: Good for general parts, typical tolerances around ±0.2–0.3 mm with fine tuning. Layer lines are visible.
-
Resin (SLA/DLP): Excellent surface detail and small features, tolerances as tight as ±0.05–0.1 mm on consumer machines.
-
SLS/SLM: Industrial processes yield strong, accurate parts but at higher cost.
-
Bottom line: For flat parts that must fit together precisely (tabs, slots, gears), laser cutting has the edge. For tiny 3D details (miniatures, dental models), resin 3D printing leads.
Strength, Durability, and Assembly
-
3D printed parts can be very functional. Orientation matters: in FDM, layers bond together, but parts can be weaker along the layer lines. Intelligent design (fillets, thicker walls, more perimeters), better materials (nylon, PETG), and post-processing (annealing, inserts) improve durability.
-
Laser-cut parts derive strength from material choice and thickness. A 6 mm acrylic panel is stiff; plywood is strong and easy to assemble with screws or press-fit joints. However, you only have the third dimension where you stack or assemble layers; a single sheet is still a sheet.
Tip: If your design benefits from a laminated structure (multiple layers forming a 3D object), laser cutting can be surprisingly powerful. If you need a single monolithic 3D piece with curves and internal paths, 3D printing is the way.
Speed and Throughput
-
Laser cutting is generally faster for producing many of the same 2D parts. Once the sheet is loaded, parts can be nested to minimize waste and cut in minutes. Engraving large filled areas is slower than cutting.
-
3D printing time scales with volume: bigger, thicker parts take longer. A palm-sized FDM part might take 1–3 hours; a resin print with multiple small pieces can be efficient because many items print simultaneously on one build plate.
For batches: If you need dozens of identical flat parts, laser cutting is usually much faster. For small, complex 3D parts, printing multiple at once can be time-efficient, especially with resin.
Cost Considerations
Upfront and per-part:
-
3D Printing (FDM desktop): Low machine cost, inexpensive filament, but time per part adds labor or opportunity cost. Resin printing has pricier consumables and requires gloves, alcohol, and curing setups.
-
Laser Cutting: Machines vary widely; makerspaces and fabrication shops charge by time, material, and setup. For flat parts, material yield (nesting pieces efficiently) can significantly reduce cost.
Waste and reuse:
-
3D printing generates little waste besides support material and failed prints.
-
Laser cutting creates offcuts; good nesting reduces waste, and scraps can sometimes be reused for smaller parts.
Rule of thumb: One-off, complex geometries favor 3D printing; repeated 2D parts in quantity favor laser cutting for cost and speed.
Design Workflow and File Formats
-
3D Printing:
-
Design in a 3D CAD tool (Fusion 360, SolidWorks, Tinkercad, FreeCAD).
-
Export as STL or 3MF.
-
Slice with software (Cura, PrusaSlicer, Lychee, PreForm) to generate printer instructions.
-
Consider wall thickness, overhangs, support placement, and part orientation.
-
-
Laser Cutting:
-
Design in 2D (Illustrator, Inkscape, CorelDRAW) or export 2D drawings from 3D CAD.
-
Use SVG, DXF, or AI with separate layers/colors for cut, score, and engrave.
-
Arrange parts (“nesting”) for material efficiency; account for kerf so press-fit joints are snug but workable.
-
Learning curve: Both have friendly beginner tools. Laser cutting feels simpler at first for 2D designs; 3D printing has more variables but greater geometric freedom.
Surface Finish and Post-Processing
-
3D Printing:
-
FDM: Layer lines are visible. You can sand, fill, prime, and paint. Vapour smoothing (for ABS) improves finish. Threaded metal inserts add strength.
-
Resin: Smooth out of the printer but needs washing and UV curing; sanding and painting produce a near-injection-molded look.
-
-
Laser Cutting:
-
Edges on acrylic are glossy; wood edges are darkened (charred) and may smell initially. Masking tape can prevent scorch marks. Engraving produces high-contrast graphics.
-
If presentation matters and you need a premium, glossy edge on clear plastic, laser-cut acrylic is hard to beat. For organic shapes and sculpted enclosures, post-finished 3D prints can look professional.
Safety and Environment
-
3D Printing:
-
FDM emits ultrafine particles and VOCs—print in a ventilated area or use an enclosure with filtration.
-
Resins can irritate skin and are hazardous before curing. Use gloves, eye protection, and proper disposal.
-
-
Laser Cutting:
-
Fumes and smoke require proper ventilation; filtration systems are essential.
-
Never cut materials that produce toxic gases (e.g., PVC). Know your material.
-
Always check your machine’s safety guidelines and local regulations, especially for shared spaces.
When Each Method Falls Short
-
3D Printing limitations:
-
Large flat panels can warp or take many hours.
-
Very thin, flexible sheets aren’t practical.
-
FDM surface can look “stepped”; supports can mar surfaces.
-
-
Laser Cutting limitations:
-
True 3D forms require assembly; single-piece curved solids aren’t possible.
-
Thickness limited by your machine; deep cuts may char or taper.
-
Some materials (PVC, certain foams) are off-limits.
-
Real-World Scenarios
-
Custom Electronics Enclosure
-
Needs internal bosses for screws, snap-fit lid, and cable guides.
-
Pick: 3D printing (FDM with PETG or resin for finer detail). You can integrate features without fasteners, and iterate until everything fits.
-
-
Branded Sign with Backlit Letters
-
Requires clean, glossy edges and precise lettering; possibly layered colors.
-
Pick: Laser-cut acrylic for letters and backing, with engraved logo details.
-
-
Educational Geometry Kit
-
Dozens of triangles, squares, and hexagons that must be consistent and affordable.
-
Pick: Laser cutting plywood or acrylic. Fast, repeatable, and cost-effective.
-
-
Lightweight Structural Frame
-
Flat parts that assemble into a box truss or chassis.
-
Pick: Laser-cut plywood/acrylic with tab-and-slot joints; optionally mix with 3D-printed corner brackets.
-
-
Fluid Manifold Prototype
-
Internal channels, complex 3D pathing, pressure-resistant walls.
-
Pick: 3D printing (SLA for smooth channels, or SLS nylon for strength).
-
Cost–Speed–Quality Trade-offs at a Glance
-
Lowest cost for many identical flat parts: Laser cutting.
-
Fastest single complex prototype: 3D printing (no assembly).
-
Best aesthetics for flat clear plastic: Laser-cut acrylic.
-
Best tiny, crisp 3D detail: Resin 3D printing.
-
Strongest sheet-based assembly: Laser-cut plywood with mechanical fasteners.
-
Functional single-piece brackets and mounts: 3D printing with PETG/nylon.
A Quick Decision Checklist
Ask these questions in order:
-
Is the final object fundamentally flat or layered from sheets?
-
Yes → Lean Laser Cutting.
-
No, it’s a 3D solid → Lean 3D Printing.
-
-
Do you need internal cavities, organic curves, or topology that can’t be built from 2D slices?
-
Yes → 3D Printing.
-
-
Do you need dozens of identical parts quickly and cheaply?
-
Yes, and they’re 2D → Laser Cutting.
-
Yes, but they’re small 3D items → Resin 3D Printing may work.
-
-
What material properties are critical?
-
Transparent, glossy edges, or wood grain → Laser-cut acrylic/wood.
-
Tough, durable plastic part with integrated features → 3D Printing (PETG/nylon).
-
-
What precision and finish do you need?
-
Ultra-crisp 2D tolerances and fine engraving → Laser Cutting.
-
Fine 3D features and smooth surfaces → Resin 3D Printing.
-
-
What’s your budget and timeline?
-
Tight budget, many flat parts → Laser Cutting.
-
One-off complex geometry, fast iteration → 3D Printing.
-
Getting Started: Practical Tips
If you choose 3D printing:
-
Start with PLA for easy prototyping; move to PETG or nylon for strength.
-
Design with 0.8–2.4 mm wall thickness, avoid unsupported overhangs >45°, and use fillets to reduce stress.
-
For functional parts, add heat-set inserts for reliable threads.
-
Resin printing: handle materials safely, plan for washing and UV curing.
If you choose laser cutting:
-
Use SVG/DXF and separate colors or layers for cut, score, engrave.
-
Account for kerf: if you want a snug tab-and-slot joint, adjust slot size (e.g., slot = material thickness − kerf).
-
Mask wood/acrylic with tape to reduce scorch marks; sand or flame-polish edges if appropriate.
-
Always verify material compatibility; never cut PVC.
The Bottom Line
There’s no absolute “winner”—only the right tool for your needs. If your project is a 3D object with complex geometry, integrated features, or internal cavities, 3D printing is typically better. If your project is built from flat parts that benefit from crisp edges, clear acrylic, wood aesthetics, or high-volume repeatability, laser cutting is the smarter choice.
Many teams use both: laser-cut panels for speed and cost, plus 3D-printed brackets or specialized components where depth and custom features matter. Start by clarifying your requirements—shape, material, quantity, precision, and budget—and the choice usually becomes obvious.